


This site was built to replace my existing university notes. I wanted to do this as the PDFs produced by LaTeX weren’t as accessible as I wanted them to be, such as not being easy to read on mobile devices. Another benefit that moving to a website brings is that I have the opportunity to include interactive elements.
Content format
The format I chose for the content is MDX, I had heard good things about it, and used it a bit when contributing to the Vercel documentation. It allows me to use standard markdown syntax but also allows for adding in JSX components. Another benefit is that it uses Remark and Rehype for markdown processing, allowing for the use of the wide range of plugins.
Plugins
I use the rehype plugin @mapbox/rehype-prism to add Prism syntax highlighting to the content, I use the prism-atom-dark theme.
To use LaTeX I adapted the remark-math plugin so that it prevents the content from being formatted by remark in the build step, but doesn’t remove the delimiters. This is because I process the formulas on the client side rather than in the build step. This gives a great performance benefit for both the build step and the user as the processing of a large amount of LaTeX such as I was using was leading to page sizes getting above 500kb, which took a long time to build and a long time to deliver. By keeping the file size down and passing the KaTeX library to the client the lighthouse performance score increased by 10 points and the build time reduced by several minutes.
I also have the remark-emoji plugin enabled which allows you to insert emojis as you would in slack because it seems fun.
Components
I have created a range of components for the pages for things such as definitions. You can see a selection of them here:
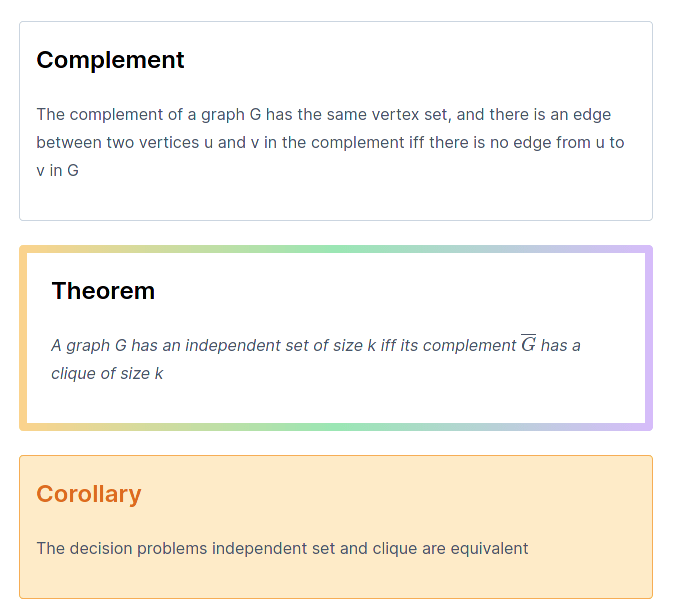
An alternative to this would be to use remark-adminitions or another remark based solution, but I get a greater flexibility by using react components, such as that in the problem component, the two sections are passed as props for better consistency. For a lot of these components, I also have the option to specity a title, such as that for theorem, if the name prop is passed, it will also display the name.
One drawback of this is that the content passed to the component no longer gets processed as markdown, so I perform markdown processsing inside the component.
There is a bit of a nasty problem with compoinents though in that the content passed in as the child of a component gets formatted before being passed through, leading to problems with backslashes being removed as they are seen as escape characters. I have to use String.raw on the component side whenever passing through LaTeX, which is a bit of a pain.
MDX processing
Finding the best solution for processing MDX was quite a complicated task due to wanting to have a sidebar on all pages. The problem was that the sidebar is dynamically generated from the input files, and so needed props from the build step, which can use Node.js functions such as fs. The implementation of MDX in Next.js doesn’t allow this as it just converts MDX into pages along with that content from the build step fetched through getStaticProps can only be used in pages, not components.
My solution to this laid in creating a custom MDX implementation, as documented here. I then used an optional catch all route for all the pages, which made a request through getStaticProps for the page content. I used the directory-tree NPM package to generate all the valid paths for getStaticPaths.
This solution was also the fastest solution by a considerable margin, more than halving the build time compared to the solution with the MDX plugin. The one downside of this solution is that in the dev server getStaticProps is only run on page load, so I don’t get live preview of the content I’m typing, but VS code extensions make up for this.
Styling
All the styling is handled through Tailwind CSS, this was my first time using the typography plugin, and I was hugely impressed. It saved me a lot of time in ensuring the main content was nicely styled. There was some issues with my React components, as the plugin was also styling those, but I managed to make the components look ok regardless.
Images
Images were somewhat tricky as I couldn’t use the same format as I had before where the images are with the content as images have to be served through the public directory. My solution to this was to create a very similar hierarchy in the content and images folder so that images are easy to find.
Another thing I did with the images was to convert them all to webp to improve pagespeed and reduce bandwidth usage. This was very good, reducing the total image size by over half.
Algolia Search
To provide search for this website I used Algolia DocSearch. Sadly as this isn’t a documentation website I couldn’t get it all provided for free, but luckily there is a very generous plan available for free with the GitHub education pack that provides everything I need.
The crawler is ran as a GitHub action so that it will be crawled every Saturday at 00:00 and can also be crawled whenever needed. This runs the docker container provided by Algolia with config.js and the environment variables provided via GitHub secrets.
The setup for this was relatively easy as the (Algolia documentation)[https://docsearch.algolia.com/docs/run-your-own] is very good. One problem the crawler had was that the pages on the site don’t have links to each other as they are rendered when you interact with the site. I solved this by generating a sitemap and passing this to the crawler instead. The search box styling provided by Algolia also isn’t mobile friendly which is a bit of a pain, but can easily be solved with the workaround given in this GitHub issue. I’m looking forward to DocSearch v3 which is set to come out soon.
Sitemap
As I mentioned above, I needed to generate a sitemap for Algolia search, this also has a benefit in providing better SEO as the Google crawler can also access the pages easier with a sitemap. However generating one of these was somewhat tricky due to the fact I am using catch all routes, so it isn’t apparent from the source code what the paths will be. The best solution I found was to use nextjs-sitemap-generator and passing it my MDX content directory as my pages directory, which gives it all the content pages. Sadly this does mean it doesn’t show the index page, but that hasn’t been a problem yet.